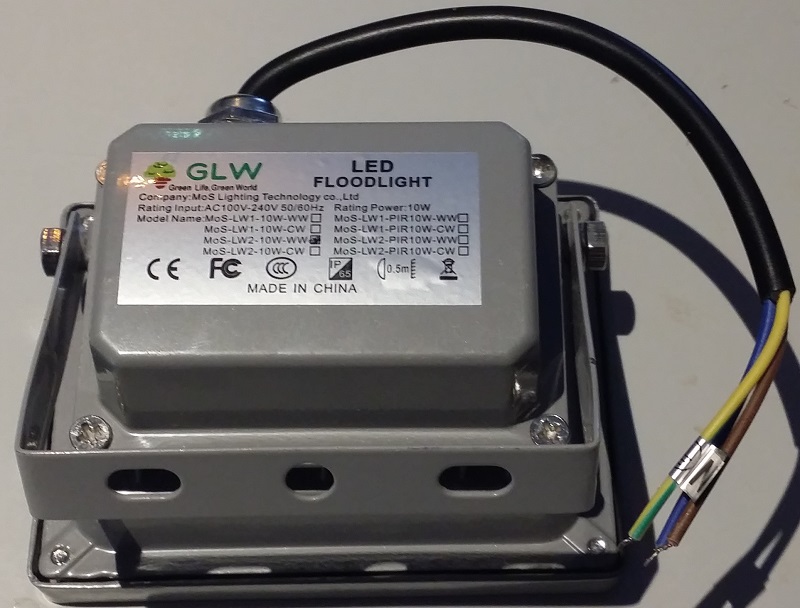
 I picked up a few of these 10W LED floodlights on eBay.
They sometimes sell for peanuts.
I paid less than $12 total for 6 of them with free postage.
Since I only really want the housing, it makes no difference
what colour or voltage they originally were.
These ones drew approx 5W from the mains.
Somewhat short of the “10W” figure claimed.
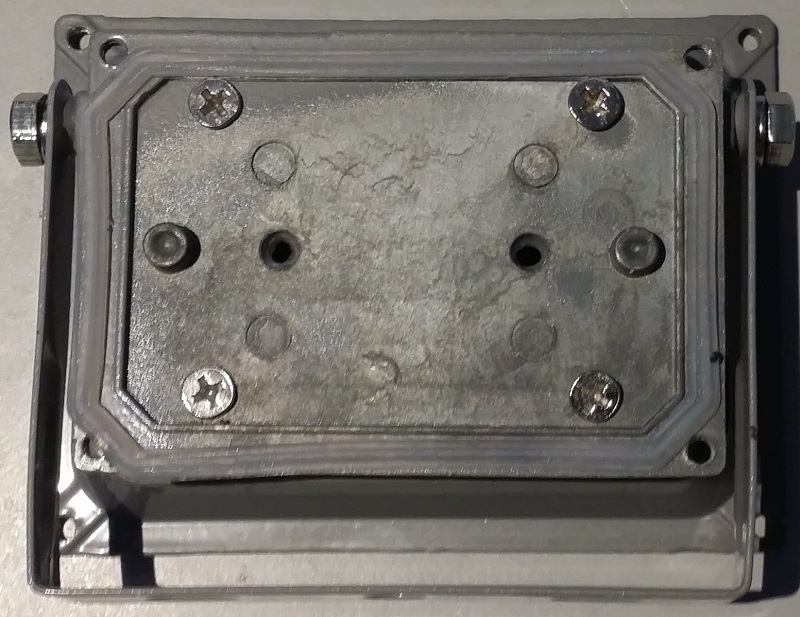
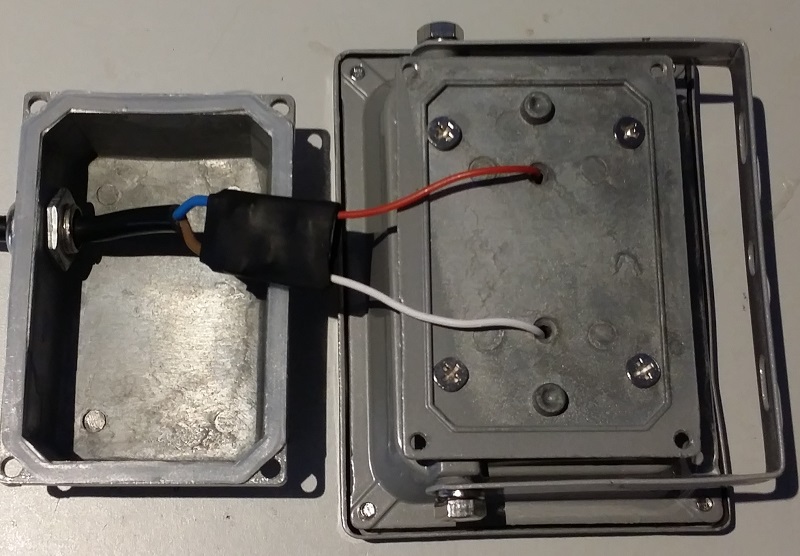
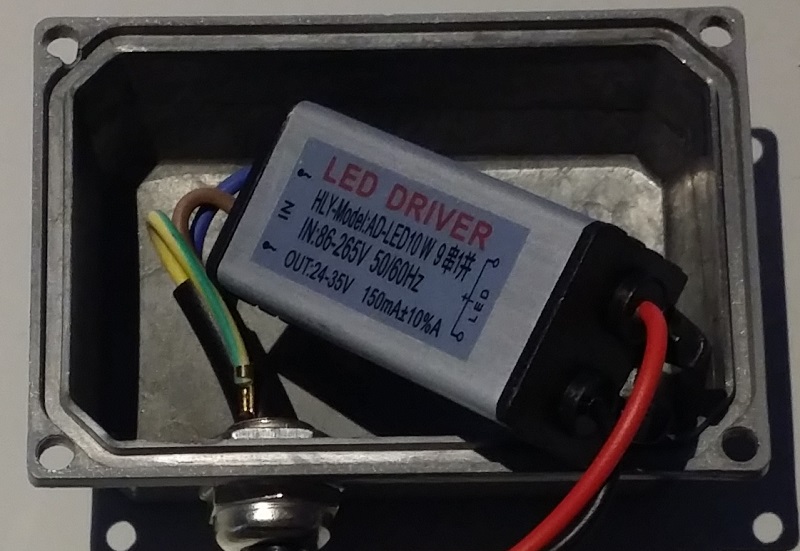 Remove the rear cover to reveal the LED driver.
As you can see the earth tag is loosely stuffed into the cable gland!
I’ll put the old driver aside to possibly use on another project.
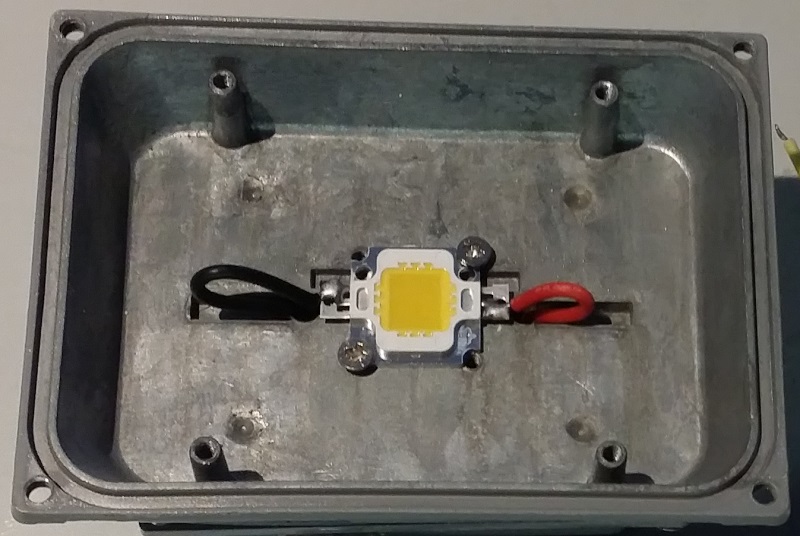 Remove the front frame, glass, gasket and reflector.
 Desolder the existing red and black wires from the LED.
 The original LED driver can now be removed.
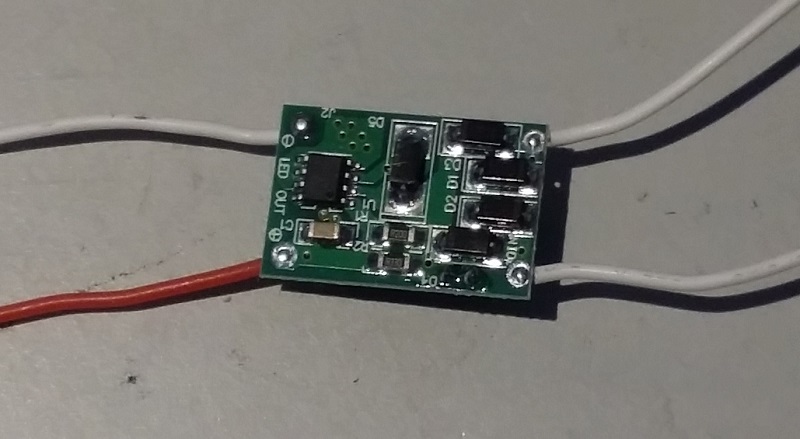 This is the new DC LED driver module.
Its power input (white wires on right) is not polarity sensitive.
I paid about $12.50 for the UV LED (380nm – 390nm) + driver combination.
If you want deeper UV (less purple), they cost considerably more.
The ones I got light up white surfaces quite brightly.
 Remove the white wires from the DC LED driver and connect the new cable tail.
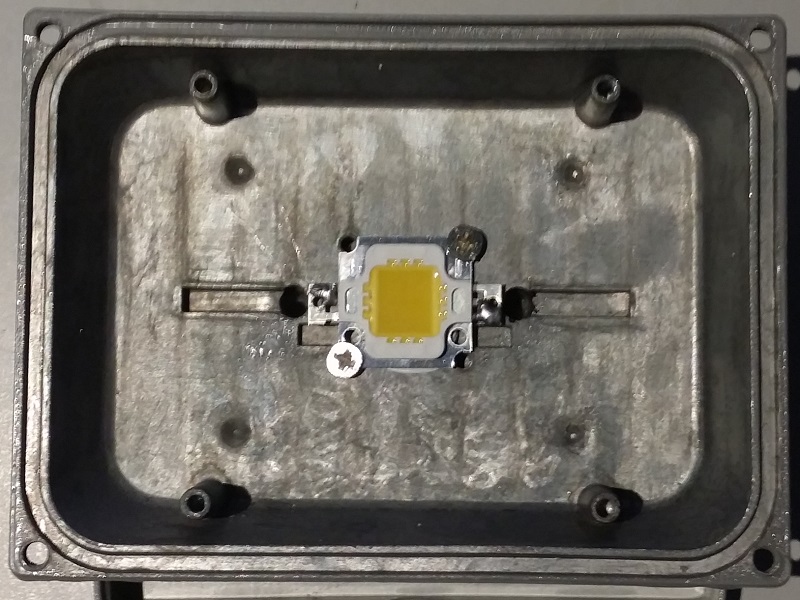
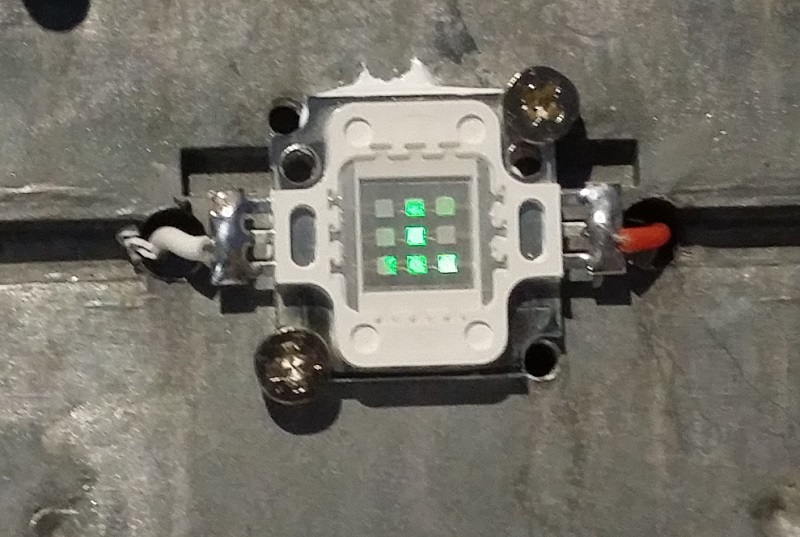 Replace the original white LED with the UV one.
The green “glow” is an artifact of a reflection in the camera.
Scrape the thermal paste from the old one to use on the new one.
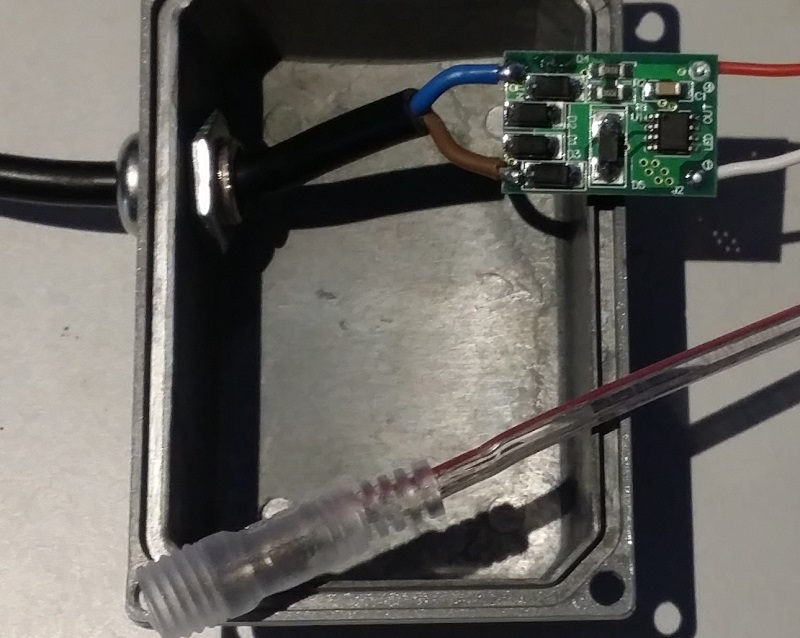
Poke the red and white wires of the DC LED driver through the casing.
Solder the red wire to the + side and the white wire to the – side.
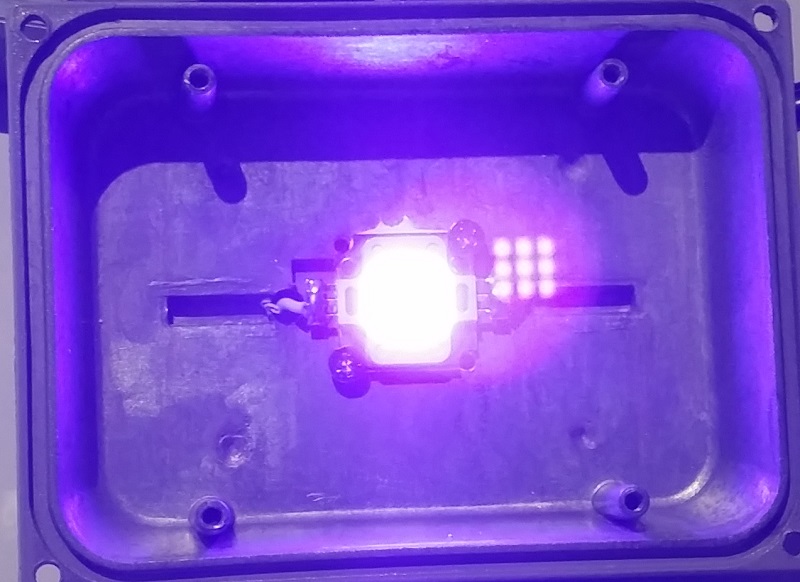 Test the driver / LED combination before the final assembly.
 Now we can shrink the tubing over the module.
 A cable tie stops the cable from being pulled through too much.
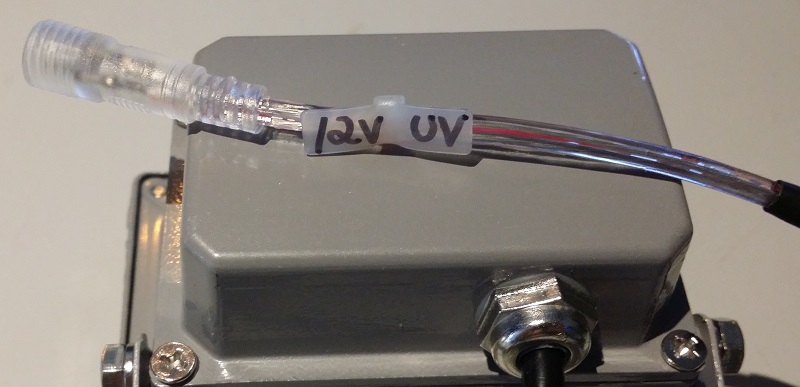 I usually add a marker tie to indicate the voltage, etc.
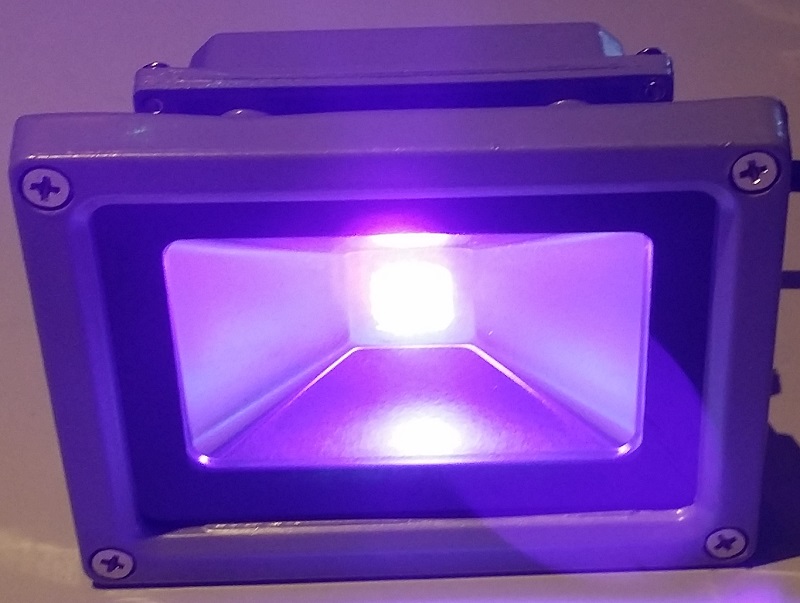 And we have a working UV floodlight that runs on 12V.
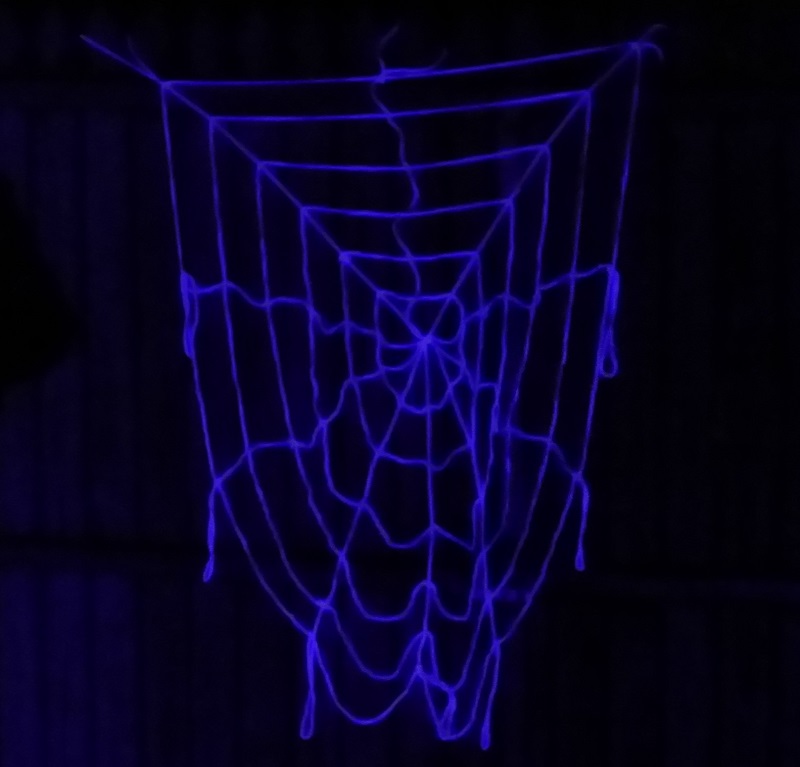 Here it is illuminating a large white string spider web hung on a fence.