2010
I bought 4 sets (of 4) 32cm solar powered candy canes from my local Kmart. Three of those sets were on the clearance rack!
At the time, I discarded the solar panel parts and used 8 of the canes on a piece on plastic mesh in conjunction with a small power supply.
They looked “ok”, but were never a real red colour. It was more of a pinkish red due to the cool white LEDs in them.
2011
Until now, they were static (always on), but that year I upgraded that display element to have a P-DMX controller.
The controller was a simple on/off type (no dimming), but it was a huge improvement.
2012
I made a new P-DMX controller that fitted into a masthead amplifier enclosure. It supported dimming too.
2014
Now I’ve decided to tart them up a bit.
I had some 12V, 60 LEDs per meter RGB strip off-cuts left over from another project so started putting them to use.
A quick experiment showed that only the red LEDs looked any good inside the canes, so the green and blue are not connected.

The strip used is in 50mm sections and it worked out that 8 sections was the length of the cane.
Double sided tape was used to stick 2 such sections back to back.
Due to differences in the inside/outside curves, the strip ripples a bit still looks good when installed.

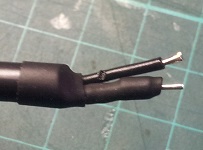
You can see that the fold is quite sharp! I fully expected it to crack there, but it seems fine.
I only needed to solder onto the red and +12 pads on one side of the strip.
With a little more effort, you could solder both sides so the 2nd side would be lit even if the strip does crack at the hairpin bend.
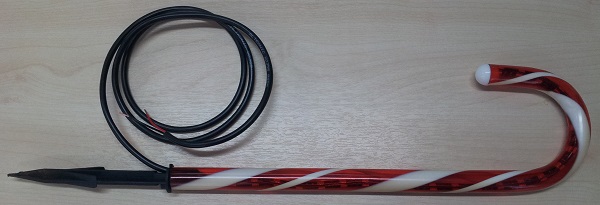
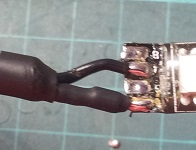
Here’s the completed assembly, tucked into the candy can tube.
There’s no connector on there yet.
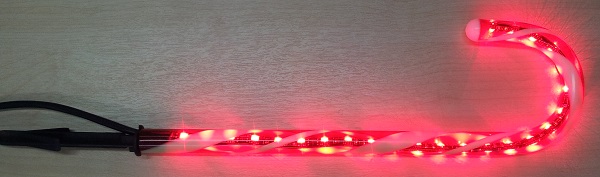
The cane now looks a nice shade of red even though the camera makes it look a tad pink.
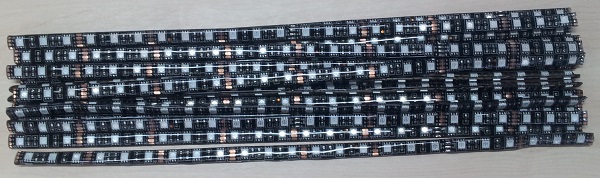
Another 15 more of the double sided strips made up!

A notch was cut into one of the ground stake fins.

The cable is routed through the notch.
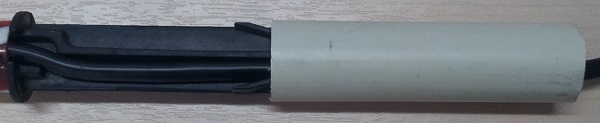
The ground stake pushes into 75mm length of 20mm electrical conduit. It’s quite a firm fit. You could use a longer length to raise the canes up.
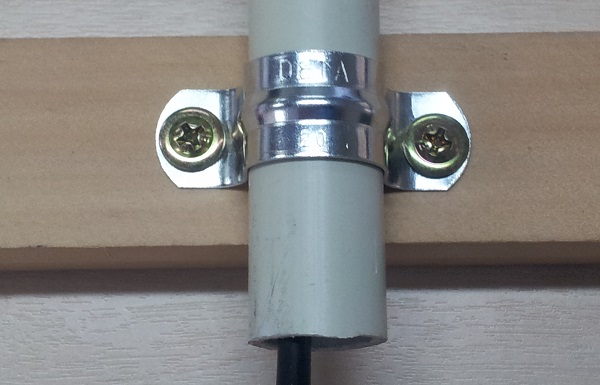
A 20mm saddle clamp secures the conduit to the support wood.
It’s a friction fit. Not sure yet if they may work loose over the season.
I’m hoping to find a neat 2-pin waterproof plug and socket that will fit through the saddle clamps.
If not, I’ll have to let the cables hang down beside the conduits.
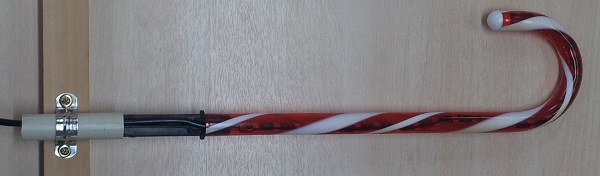
The completed candy cane slipped into the saddle clamp.
I will attach 8 saddles to a length of wood.
Two of those assemblies will make up the 16 cane display.
Update:
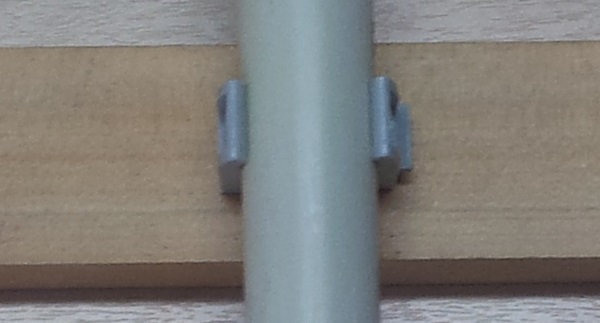
A trip to Bunnings on the recommendation of a friend yielded some 20mm conduit clips which mount with a single screw.
These will allow the cable to run through the conduit, so I could either hard-wire the canes or use 2 pin plugs and sockets.
The conduit is a nice tight fit in the clip, but should release without damage if someone pushes or pulls on them.
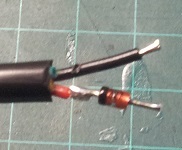
The LED strip was too bright at 12V, so I decided to add a series 2.7V 1W zener diode.
This left approx 9.3V across the strip which in turn reduced the current draw to 170mA per cane.
There is some loss in (in the zener) with such a simple arrangement, but the power draw still dropped from 3.4W to 2.1W per cane.
Heatshrink added to the diode.
Soldered onto strip.
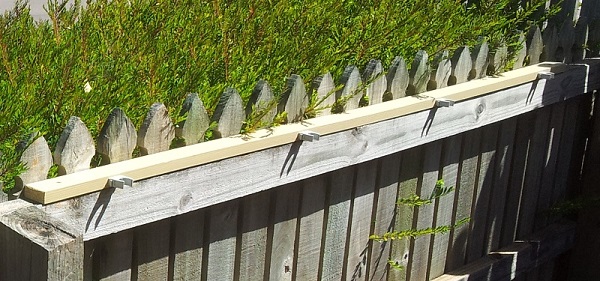
There are 4 of these wood pieces, each with 4 places to clip a small candy cane into. They are screwed into the top rail on the inside of the fence.
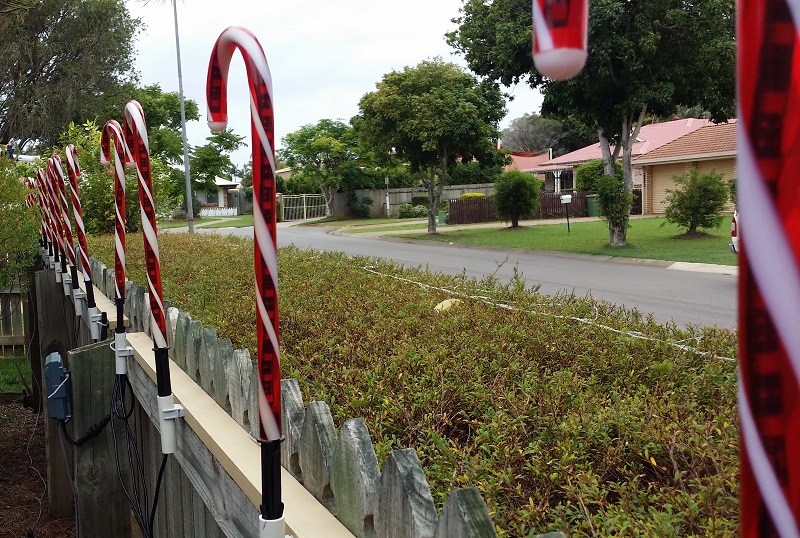
16 candy canes, all in a row!

8 canes run from each P-DMX controller.
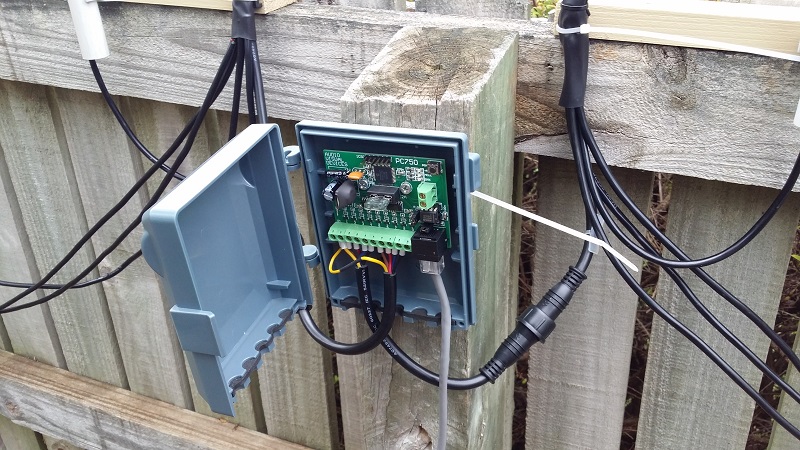
The P-DMX controller takes power and DMX in via an CAT5/RJ45 connection and has 9 DC channels.