For my 2014 display, I have decided to use more of the cheap red / green lasers. I needed to come up with a rain resistant enclosure and bracket at a reasonable cost. (original housing here)
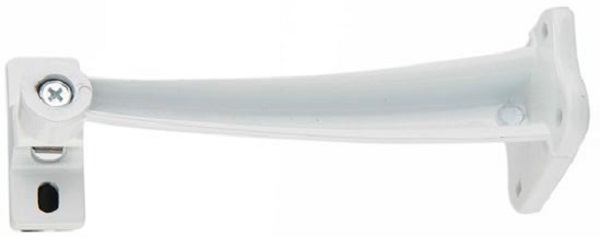
Here’s the aluminum CCTV bracket I plan to use.
They were on eBay for $5.59 including delivery so I ordered 6 of them.
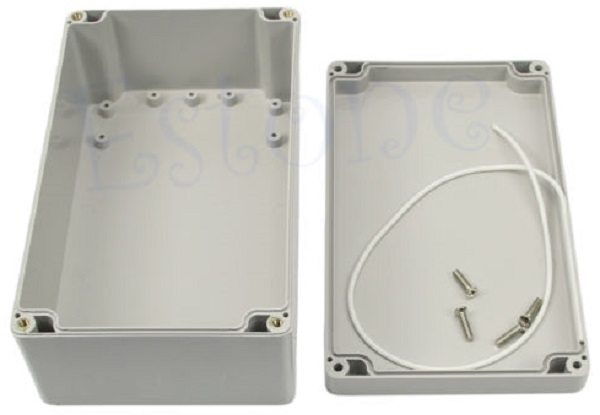
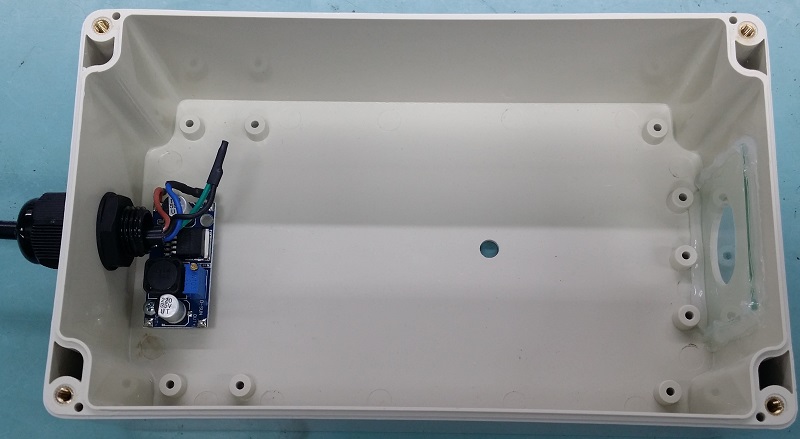
This is the plastic enclosure that the laser will mount inside. The outside dimensions are 200mm x 120mm x 75mm. I got 6 of them on eBay for $7.58 including delivery each.
The plan is to cut a pair of vent holes in the enclosure lid for ventilation and cover them with insect screen to keep the bugs out. The box will be used upside down so rain can pour over the box and the laser will stay dry.
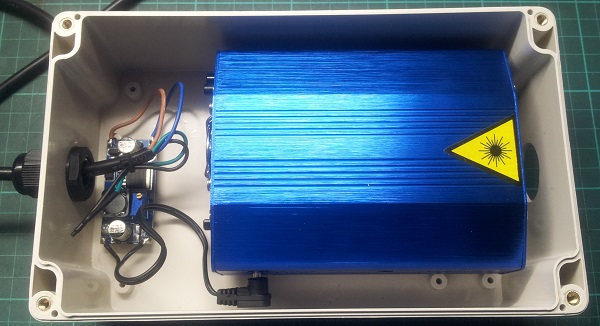
Here’s a red/green star laser fitted into the eBay box.
The rear end of the box has a cable gland the power cable tail.
The small PCB behind the laser converts the incoming 12V down to the 5.4V that the laser requires. You can get them on eBay for just a few dollars.

The clear window that covers the 25mm hole for the laser output has not yet been fitted.
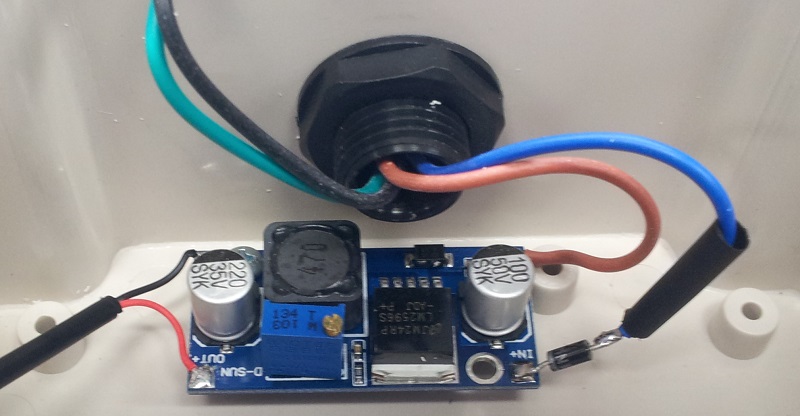
The DC-DC converter can handle up to 35V input, but i added a 1N4007 diode in series with the V+ line to protect it in case the DC is ever applied with reverse polarity. Cheap insurance!

A bit of 3mm heatshrink tubing over the diode and wire joint keeps it tidy.
Make sure the polarity of the cable to the laser is correct. The positive wire should go to the inside of the small barrel connector.
 The mounting hole for the laser casing is slightly off centre.
It’s positioned so the front edge of the laser just clears the 3 plastic posts near the glass window.
To keep things waterproof on the top side, push some silicone into the hole from the outside before screwing the laser case in.

I used some thin (2mm) glass from an old photo frame and siliconed it into the hole.

Here’s the unit mounted on the fence post temporarily.
I hadn’t worked out a nice way of doing the vents on the underside yet.
Because of the lack of free air ventilation, I only tested it for a few minutes.
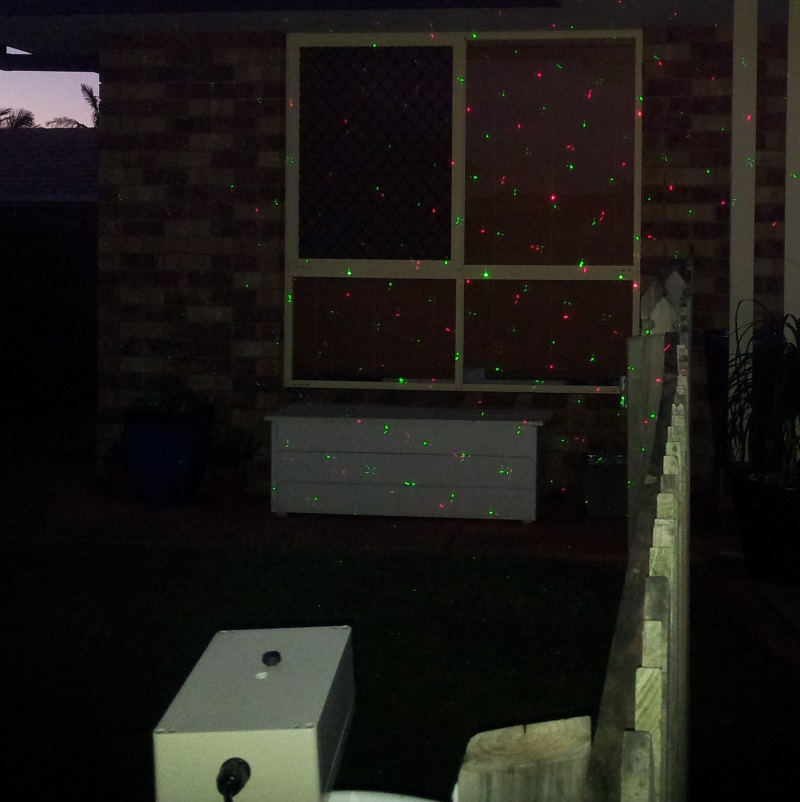
The laser patterns show up quite well on the house.
I’ll need a few more to cover the whole house front.

I’ve added two 40mm air vents (from Bunnings) to see if they will provide enough ventilation for the laser. With a completely sealed box, the red laser starts shutting down (gets dimmer) after only 10-15 minutes.
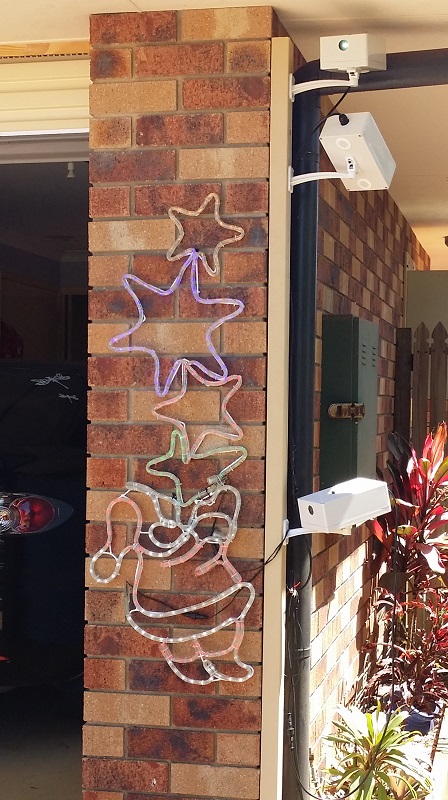 Here’s 3 of the laser boxes mounted to a painted piece of pine.
The wood is secured to the garage wall with 2 screws and wall plugs.
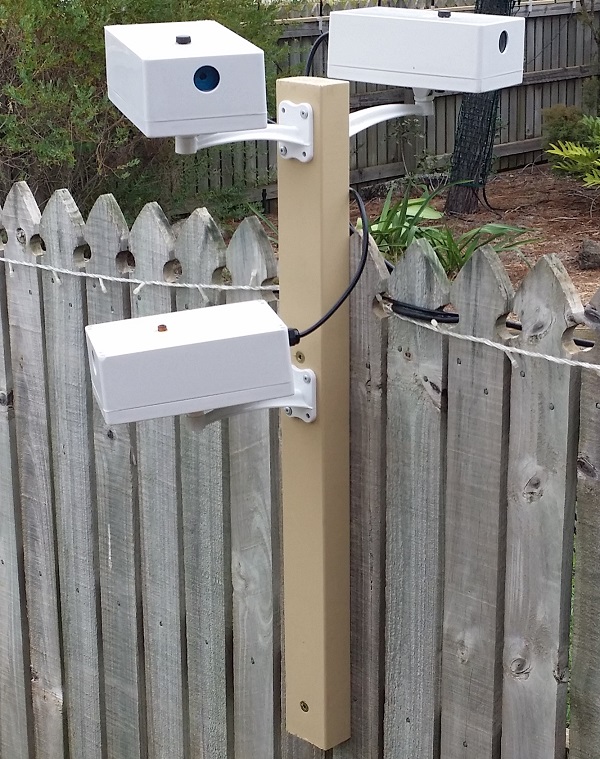 Here’s the other 3 laser boxes.
The wood is secured to the fence rails with 2 screws.