This skull was part of of $35 skull and bones pack from an eBay seller.
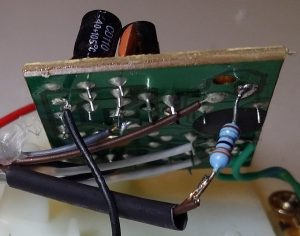 First I added a 33 Ohm resistor (0.25W or more will do) in series with the speaker.
You can put the resistor in series with either speaker wire.
This reduced the volume to a more reasonable level.
I want each prop to be somewhat localised and not hear them all over the yard.
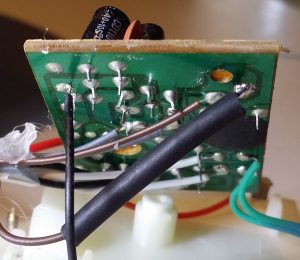 A small piece of heatshrink over the resistor stops the joint shorting to the PCB.
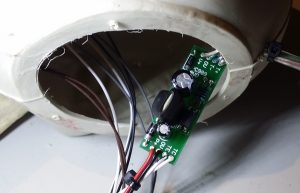 A small custom PCB was added internally to provide approx 4.5V to the electronics.
The input voltage can now be anywhere from 9V to 30V DC.
It also interfaces to the “try me” button wiring and provides a standard trigger method.
An opto-coupler is employed to convert the new voltage trigger to a contact closure.
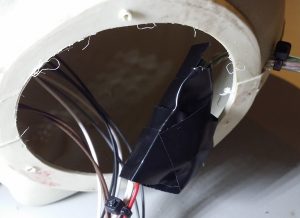 Insulation tape prevents the board shorting against the existing board.
In other props I’ve used a section of large heatshrink instead of tape.
I simply forgot to put it over the wiring before soldering the tail on!
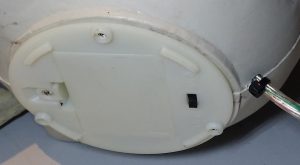 All back together with just a cable tail hanging out the rear.
This will connect to a remote power supply and trigger circuit.
Zip ties on the inside and outside provide some strain relief.
Here it is being power from 12V. The trigger voltage was also 12V.
