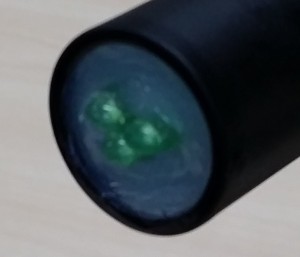
These LED spot lights are easy to make with only a few dollars of parts.
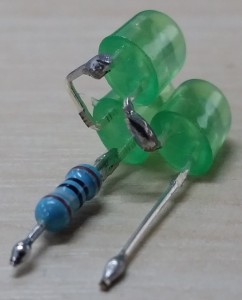 Three high brightness green LEDs and a 180 Ohm (0.25W) resistor are wired in series.
This gives a current draw of approx 20mA @ 12V DC.
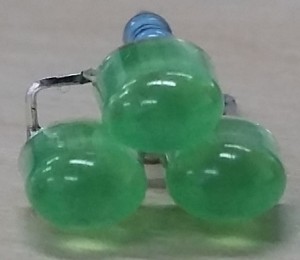 The LEDs are an oval type (50° x 90°) and are arranged in a triangle.
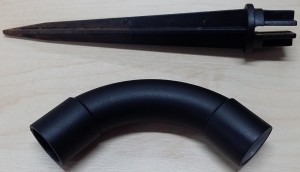 The plastic stake was from an old set of candy canes.
It pushed into the 20mm 90° conduit bend as a friction fit.
The conduit bend was just over $1 from Bunnings.
I spray painted it with some grey primer then matt black.
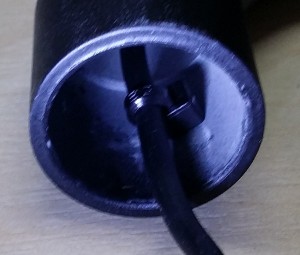 A zip tie acts as a strain relief so the cable can’t be pulled through the stake slot.
The end was filled with clear silicone (neutral cure type) with the LEDs poking out a little.
This LED orientation will give a wider coverage.
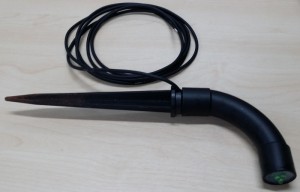 Single core shielded cable was used to connect to the LEDs.
I don’t normally use shielded cable for lights, but the current is low and it fitted through the stake slot.
The weatherproof 2 pin mini plug has not yet been fitted.
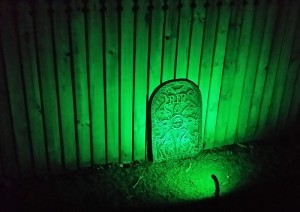 This 3 LED green one gives off a lot of light !
I think 2 LEDs ( or even 1 LED ) would be bright enough for lighting individual props.
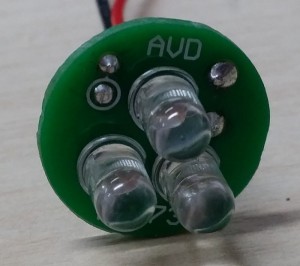 I was getting some PCBs made and had a bit of room left on the panel.
So I whipped up a quick design with 3 LEDs, series resistor and power pads.
This will make it easier to connect and align the LEDs.
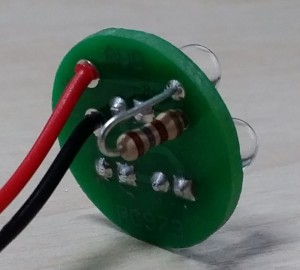 The series resistor goes on the rear of the PCB.
Its value depends on the LED colour and supply voltage.
The power wires also solder in from the rear.
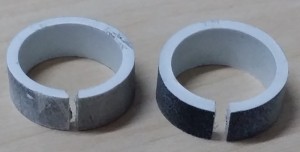 I cut these slices of conduit to space the PCB from the bottom of the PVC bend.
They were hard to press into the bend, so I cut a slot in each to reduce the diameter.
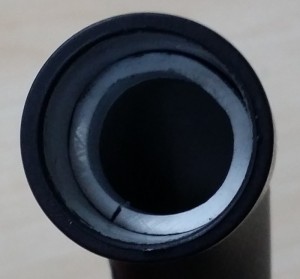 Here’s one of the conduit slices already installed into the bend.
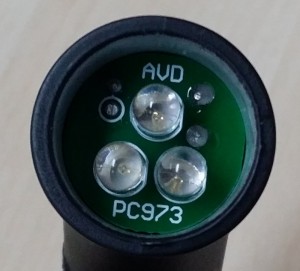 The LED PCB (already wired) pushes into the PVC bend.
Now I just need to fill the end with clear neutral cure silicone.
Best to test the whole assembly before the silicone goes in !
The PCB is a fairly firm fit, but a second ring could drop in over it
to stop it moving while the silicone is setting.
