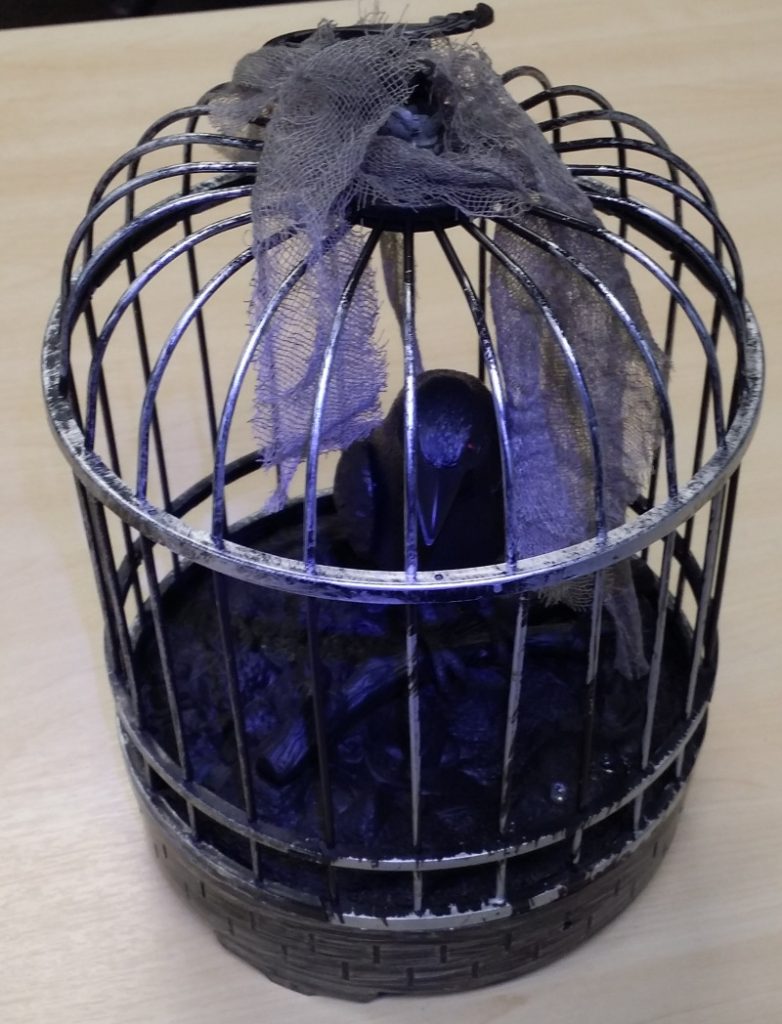
This animated caged bird prop was $20 at Woolworths (2019). It’s normally activated by either a loud sound, or a change in light level (shadow). Neither of these were what I wanted, so I looked at modifying it. The base of the cage has 6 or so small screws holding it on.
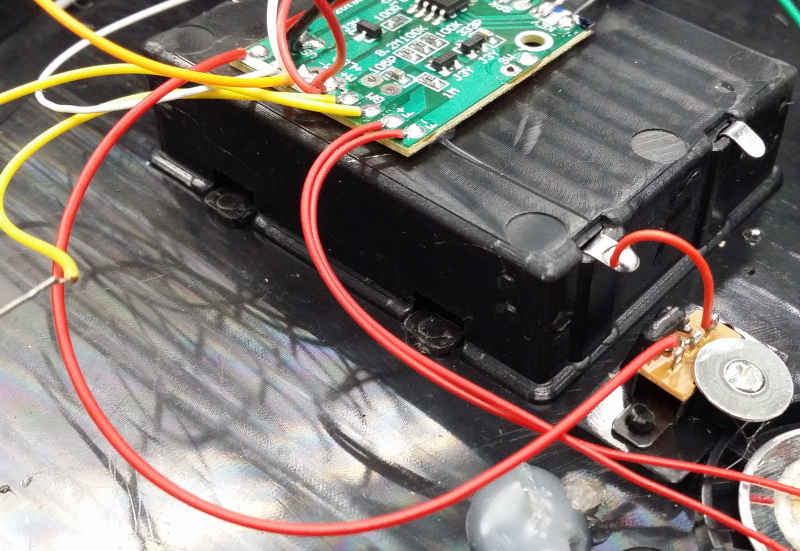
The switch originally selected between DEMO and ON modes. The RF receiver module I’m adding has it’s own standby current draw (~ 5.4mA vs the prop board at only 1.5uA !), so I rewired the switch to provide a real off function to preserve the batteries when not in use. You can see where I’ve disconnected the switch from the 2 (now vacant) solder pads on the side of the PCB.
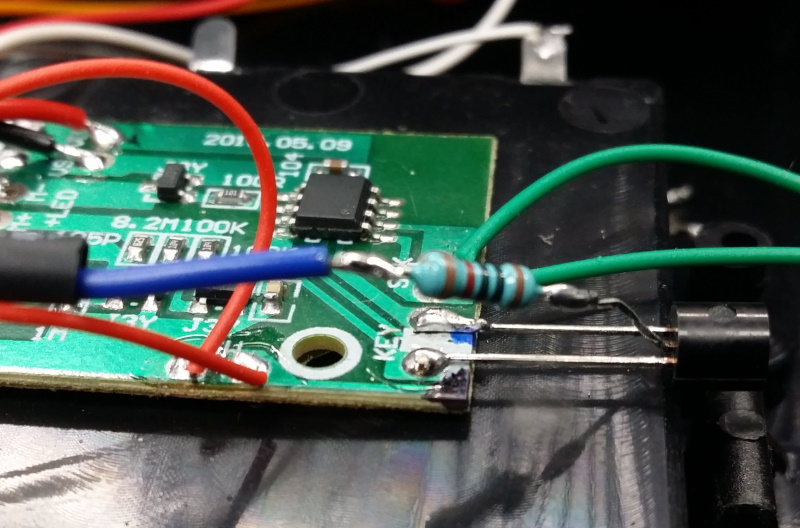
The solder pads marked KEY were where the TRY-ME button used to connect. Desolder and remove those wires. In its place I soldered a BC547 transistor (emitter to pad near edge, collector to other pad). The base (centre leg) of the transistor has a 10K resistor soldered in series. The free end of the resistor (blue wire) will be the voltage trigger from the RF receiver module.
A piece of heatshrink tubing insulates the resistor and transistor connections. I also added wires to the spare pads marked VCC (red wire) and VSS (black wire).
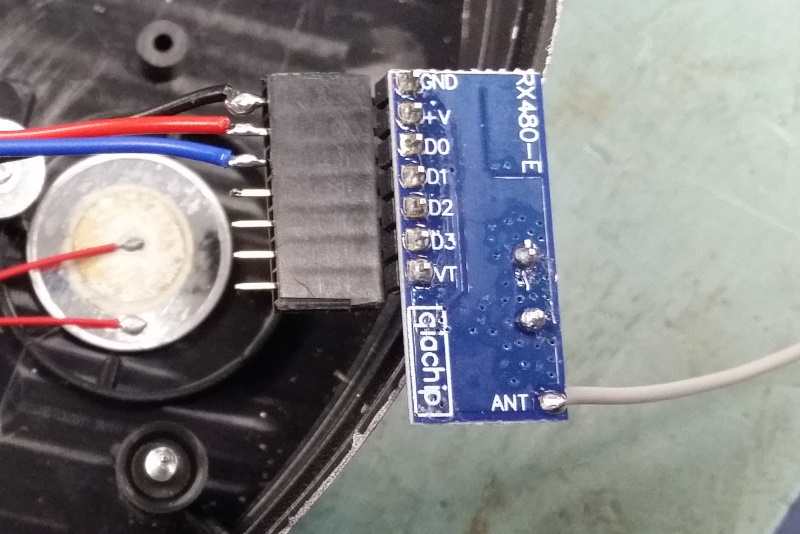
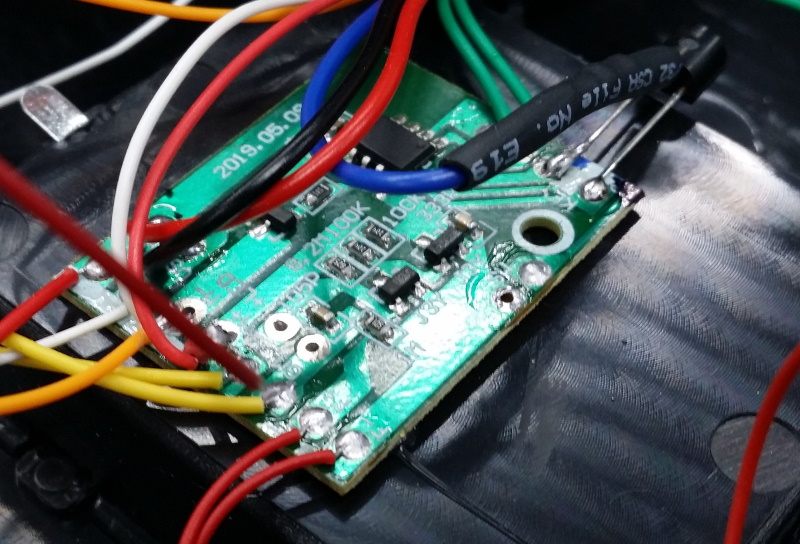
I used a piece of 2.54mm (0.1″) female header strip as a socket to mate the RF receiver module into. The black wire goes to GND, red wire goes to +V and the blue wire goes to D0, D1, D2 or D3 pin. The D0 pin corresponds to button 1 on the remote, D1 is button 2, etc. I added an antenna wire (approx 15cm) onto the RF module.
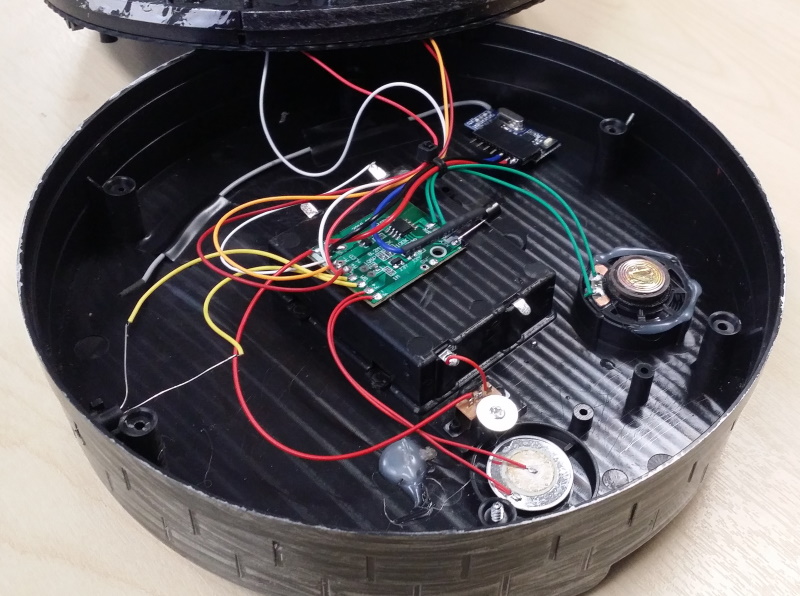
The wiring was secured with a cable tie and a couple of pieces of tape.