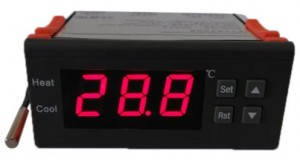
I was looking for a cheap temperature controller that would work on a 12V DC supply.
The MH1210A from Shenzhen Meihang Electronics Co Ltd caught my eye and was only $12.24 on eBay with free delivery.
 It has a 3 digit LED display and four buttons on the front panel.
Here’s the (scanned) manual: MH1210A Manual.
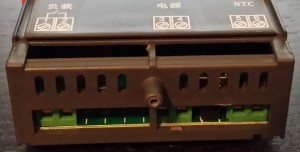
Connect your 12V DC supply to terminals 3 & 4 (polarity not important).
Terminals 1 & 2 are the relay contacts. They close when in cool mode and the sensed temperature is above the set temperature.
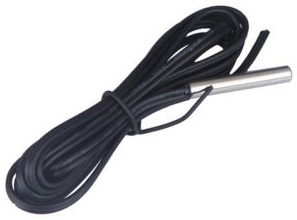
 The controller comes with a NTC thermistor (10K @ 25°C B3435) on a 1 meter cable.
Connect it to terminals 5 & 6 on the controller (marked NTC).
You can connect the red and blue wires either way around.
The manual’s instructions are not all that clear so here’s a basic rundown:
Set trip temperature:
Press the SET button briefly to access the trip temperature. Use the up and down buttons to adjust it while it is flashing. The flashing will stop and the new temperature will be applied a few seconds after your last button press.
Set heat / cool mode:
Press and hold the SET button for approx 3 seconds and release when the display shows “HC”. Press SET again briefly to see the current mode (H for heat or C for cool). Use the up and down buttons to toggle it to the required mode, then press SET again to save the new mode. Once the display shows “HC” again you can use the up button to select the next setting (CP: Slew Range).
Note: Cool mode is the one you want for controlling a fan (turns on above the set temperature). Heat mode is for controlling a heater (turns on below the set temperature).
Slew Range:
This is the difference between the temperature the output turns on and off at. The default is 2°C. This means that in cool mode, the output will turn on at 2°C above the set temperature and off again at exactly the set temperature. The reason for it is to stop the output cycling on/off rapidly around the set temperature.
Press SET again briefly to see the current slew range (in °C). Use the up and down buttons to adjust it to your requirements, then press SET again to save the new range. Once the display shows “CP” again you can use the up button to select the next setting.
Other:
See the user manual for other features.
